Ever wanted to practice pentesting a virtual Active Directory environment but thought it would be a massive hassle to set up? That’s where the tool GOAD (Game Of Active Directory) comes into play. As per the github:
The purpose of this tool is to give pentesters a vulnerable Active directory environment ready to use to practice usual attack techniques. The idea behind this project is to give you an environment where you can try and train your pentest skills without having the pain to build all by yourself.
So, it’s a self hosted (intentionally vulnerable) AD environment to test your pentesting skills. I’ve taken a liking to Parrot Security OS, mainly due to using it so much within HackTheBox Academy, so I’ve decided to install GOAD-Light on this flavor of Linux. GOAD comes in various sizes:
- GOAD : 5 vms, 2 forests, 3 domains (full goad lab)
- GOAD-Light : 3 vms, 1 forest, 2 domains (smaller goad lab for those with a smaller pc)
- GOAD-Mini : 1 vm, 1 domains (only sevenkingdoms.local, minimalist lab)
The reason I chose GOAD-Light is due to hardware constraints, and the fact that it’s more than enough for practicing my AD pentesting skills:

As you can obviously see, it’s inspired by Game of Thrones characters and locations.
For my VM installation, I ran it on VMware, allocating 100Gb of diskspace and about 18Gb of RAM to ensure GOAD-Light functions correctly. You will be installing multiple sub-VMs (basically VMs within your ParrotOS VM) so you need a lot of RAM and disk space. This is my recommended minimum requirement for GOAD-Light. Hopefully, this guide will provide a relatively straightforward way to get the lab up and running without much headache or hassle. I will be following the official documentation with a few tweaks: https://orange-cyberdefense.github.io/GOAD/
The Install
Once you have a fresh Parrot OS installation that’s been fully updated (I chose the HackTheBox Edition variant), issue the following commands to install all the requirements and GOAD-Light:
sudo apt install virtualbox -y
sudo apt update && sudo apt install vagrant -y
sudo apt install docker.io -y
vagrant plugin install vagrant-reload vagrant-vbguest winrm winrm-fs winrm-elevated
git clone https://github.com/Orange-Cyberdefense/GOAD.git
cd GOAD
./goad.sh -t check -l GOAD-Light -p virtualbox -m docker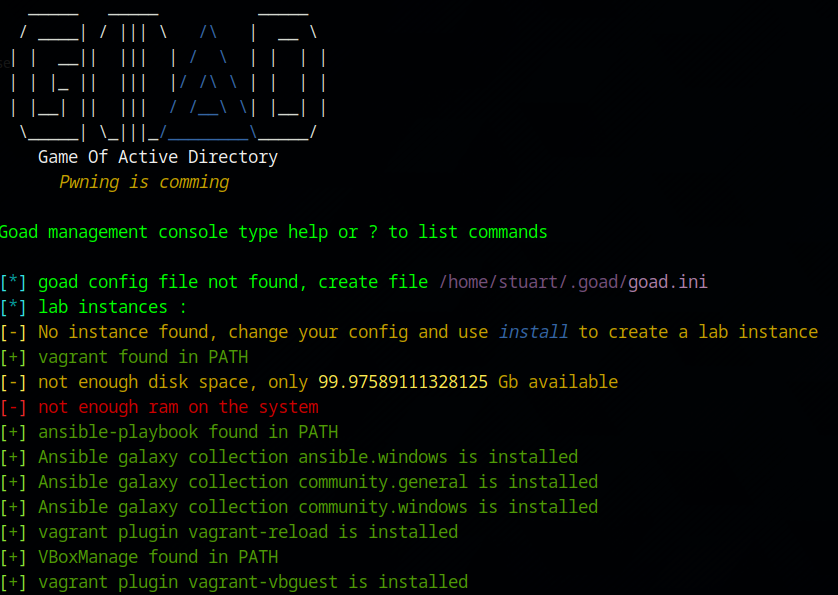
Once everything is confirmed – (you may get a Disk and RAM error, but this is fine) go ahead and install and accept:
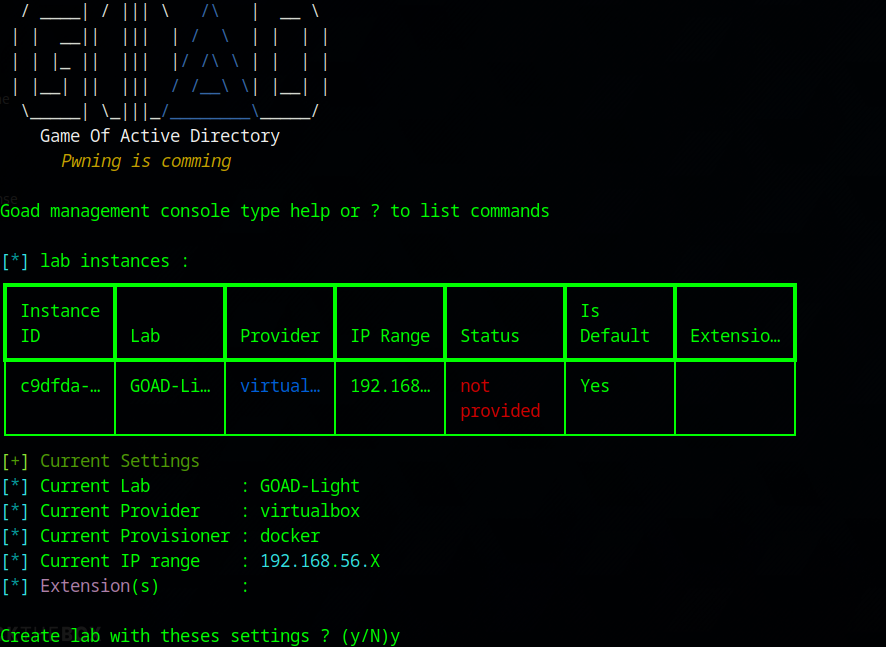
./goad.sh -t install -l GOAD-Light -p virtualbox -m docker
y
This will take a while as it downloads the virtual machine image, installs, and configure all the users, permissions, domains, etc. Take this moment to step away and do something else while it works. My installation took two and a half hours!
Potential Errors…
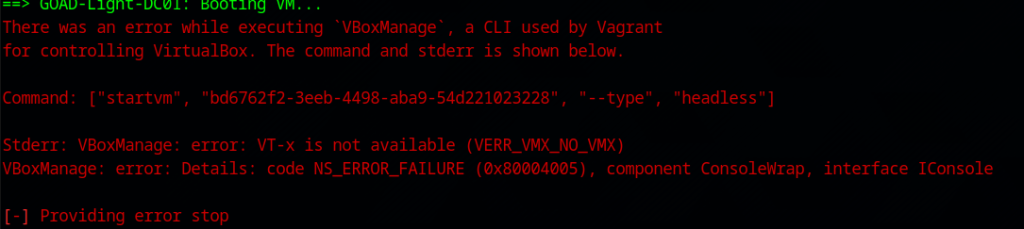
If you happen to come across this error, it’s due to VMware not passing virtualization features (VT-x/AMD-V) to the nested VirtualBox instance. Having VMs within a VM can bring additional headaches! There are some (or multiple) things to do to make it work:
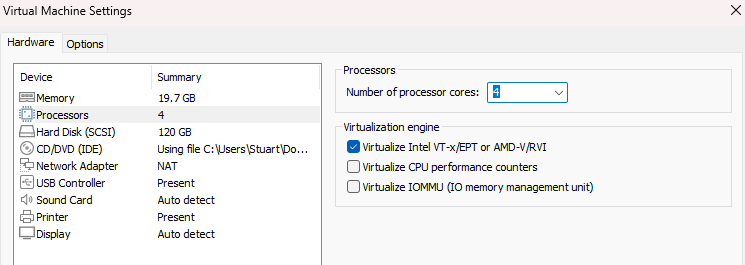
Enabling nested virtualization in VMware:
On ParrotOS, unload the KVM kernel modules, which were conflicting with VirtualBox’s ability to access hardware virtualization (VT-x) (you may need to reissue these on reboots):
sudo modprobe -r kvm_intel # For Intel processors
sudo modprobe -r kvm # General KVM module
On your core Windows system outside the ParrotOS, disable hypervisor with an Administrator cmd/powershell (reboot may be needed):
bcdedit /set hypervisorlaunchtype off
Stop-Service -Name vmms
Stop-Service -Name vhdsvc
Stop-Service -Name hvhost
And as a last resort after doing all the steps above and you still encounter errors, enable “Intel VT-x” in your BIOS. If you have an AMD CPU, enable the AMD counterpart.
If you run into memory issues despite having RAM to spare, try issuing the following command after each VM is deployed to VirtualBox (there is an ongoing bug with VirtualBox and memory allocation as of beginning 2025):
echo 3 | sudo tee /proc/sys/vm/drop_cachesRemember to remove the failed VM installs before you start the install script again:
./goad
delete
Hopefully after overcoming the errors, your VMs within the VM will be running!
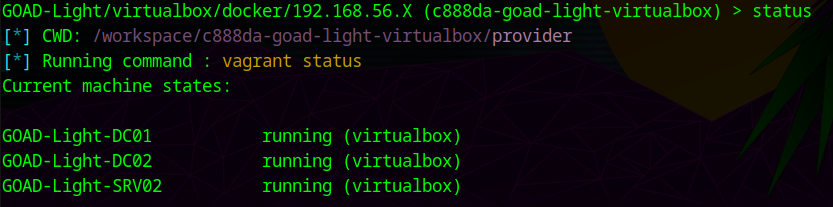
Now you can actually start pentesting your new AD environment! Test connectivity by scanning the target subnet 192.168.56.0/24:
nmap -sn 192.168.56.0/24
Good to go!
If you want to shutdown and return to the lab at a later date, you can do this by issuing the start command to spin up the VMs again in ParrotOS:
./goad.sh
start
Though I do recommend just suspending the VM instead of shutting down as it can take time for the sub-VMs to spin up again. Next time, I will be documenting some penetration testing techniques against this GOAD-Light environment!